What's new in NeetoCal


Previously, Intro pages used to be a simple list of your scheduling links and packages. They are now a full webpage builder, so you can present your entire business, not just your calendar.

Think of it as a small website that lives inside NeetoCal. No separate site, no developer, no extra tool.

Build a page out of sections

Your intro page is now assembled from sections. Add a hero, an about block, testimonials, packages, scheduling links, and more.

Pick the sections you want, drop the ones you do not. Every section comes with multiple layout variants, so you can mix and match until the page fits your business.

Let us write the first draft

Tell us your profession, or pick from our predefined categories. We generate a complete, pre-designed intro page for you in seconds.

It is a starting point, not a cage. Every word, color, font, and section is yours to change.

Design it without touching code

Click any section to open its properties. Change titles, descriptions, colors, and layout variants right there.

Global font settings sit at the top, so one change updates titles, descriptions, and labels across the whole page at once.

Make it your front door

Set any intro page as your root URL. Anyone who visits your workspace URL lands there automatically.

Build several pages if you need them, one per service, audience, or campaign, and point the root URL at whichever should greet visitors by default.

Share it everywhere

Once published, your intro page is publicly accessible,

Embed it on your website, post it to social media, or download a QR code to put on a business card, a poster, or a shop window.

To learn more how to use this feature, read this help article.

Why this matters

One link does the whole job.

Instead of sending people a bare booking link, you send a page that explains who you are, what you offer, and what it costs.

Fewer questions before booking.

When your services, packages, and credentials are on the same page as the calendar, people book with more confidence and less back and forth.

No website required.

For solo practitioners and small teams without a site, this is a credible, professional web presence that takes minutes to set up.

Different pages for different pitches.

Run a campaign, launch a new service, or target a new audience with a dedicated page instead of bending one generic link to fit everything.

2026-08-05-show-calendar-invitations-in-the-client-s-language_C-DRlXkKB.png

Calendar invitations are now sent in the client's own language, giving international clients a fully localized booking experience.

This applies across Google, Outlook, and iCloud calendar events for one-on-one bookings, so the host sees the event in the client's language too. The ICS attachment included in all booking emails, whether confirmation, cancellation, or pre-booking, is also sent in the client's language.

For group meetings, the host's calendar event stays in the host's language, while each attendee receives their emailed invite in their own language.

To learn more, read our help article.


image_DIZK5UqHR6.png

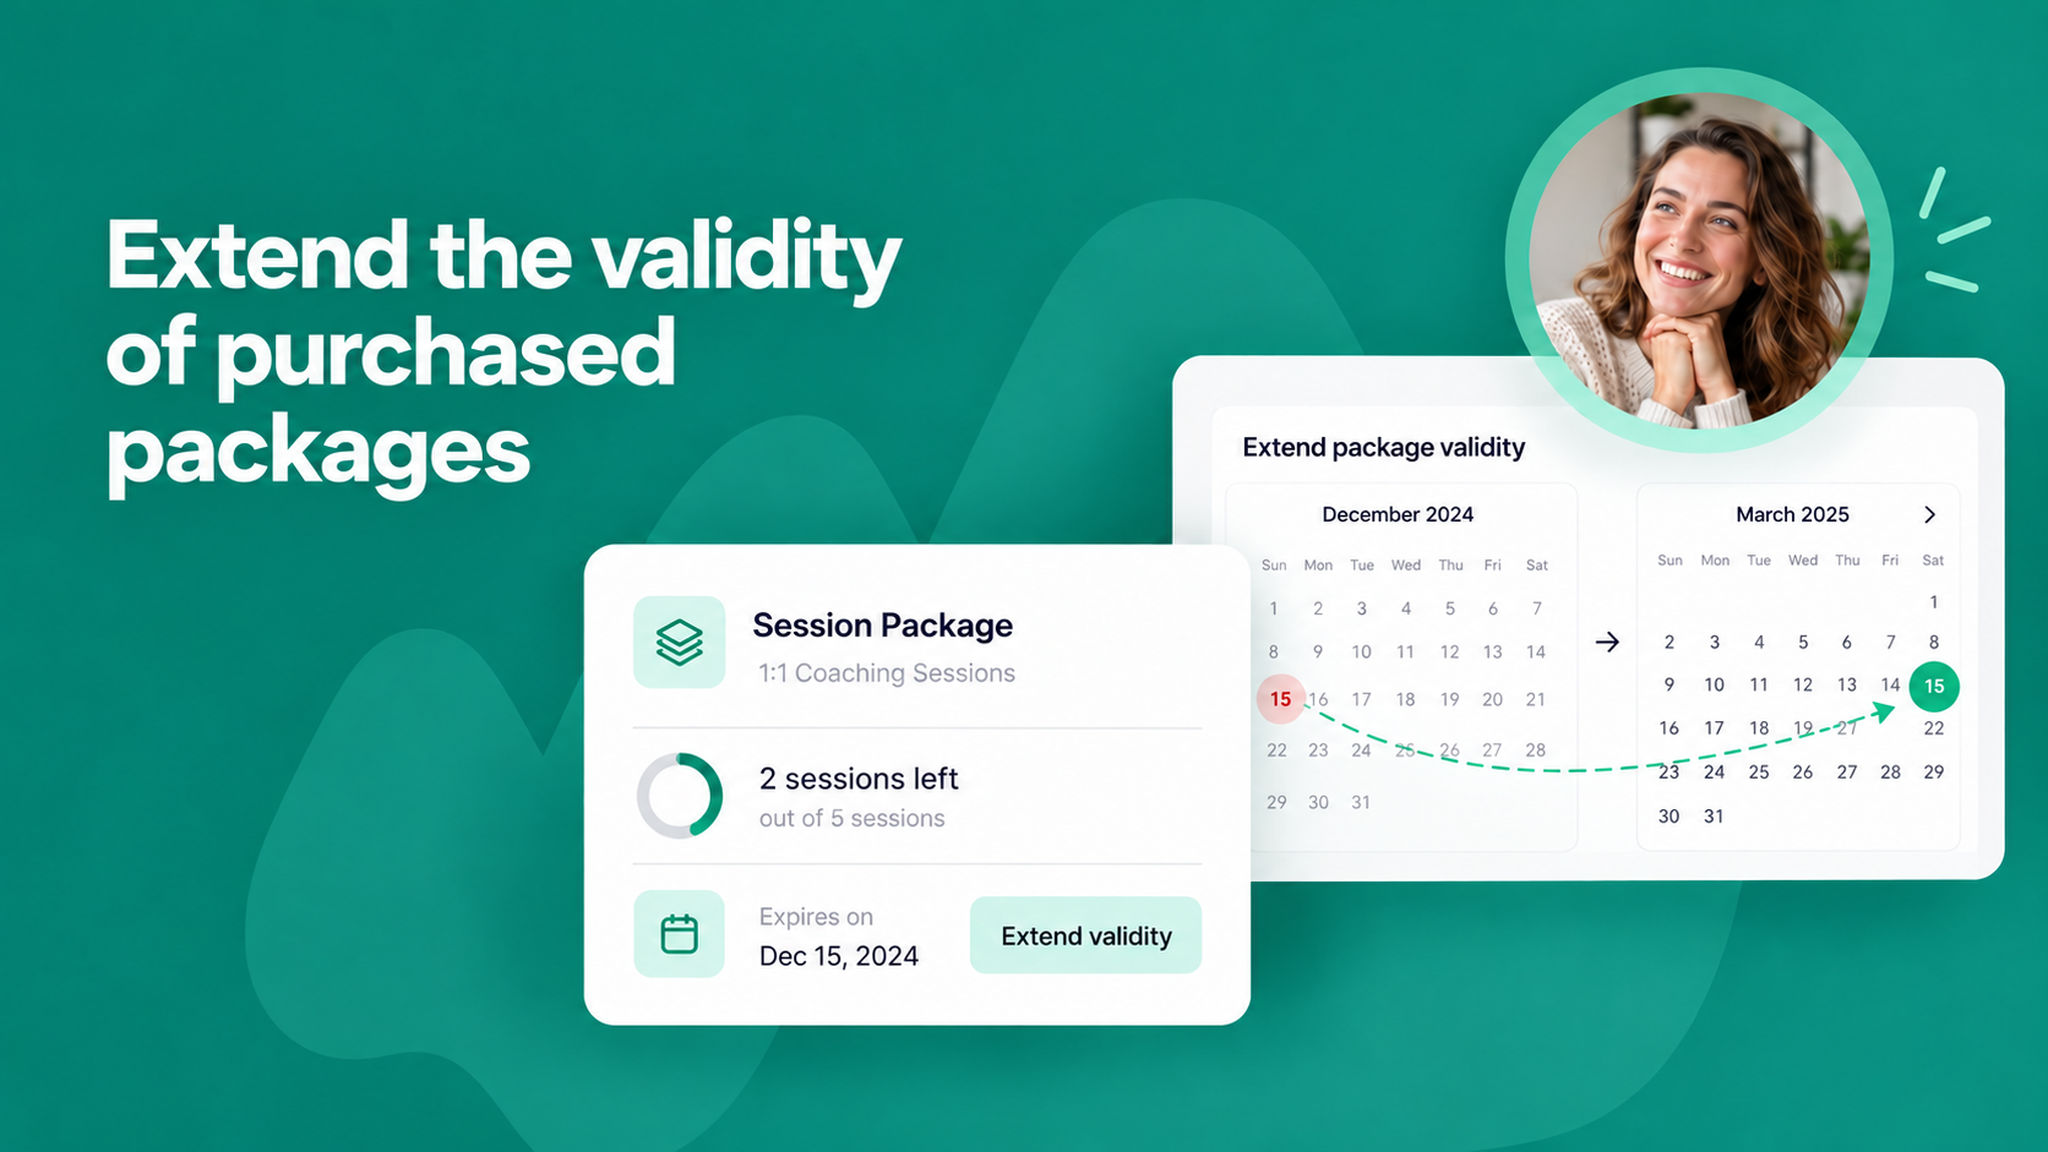
You can now extend the validity of a package that a client has already bought. Previously, once a package reached its expiry date, there was no way to give the client more time, even if they had sessions left to use.

Now you can push the expiry date on an existing purchase so clients don't lose the sessions they paid for, and you can accommodate genuine requests for more time.

To learn more, read our help article.


2026-08-05-turn-off-notifications-when-a-guest-is-added-to-a-booking_49vK-bQVa.png

You can now choose whether you get an email when a new guest is added to one of your booked meetings.

Previously, every host on the booking got this email each time a guest was added.

To turn it off, go to My preferences > Notification preferences and uncheck New guest added to a meeting. This only changes your own email, not the emails sent to the client or the new guest.

To learn more, read our help article.


image_U6ri2sl58.png

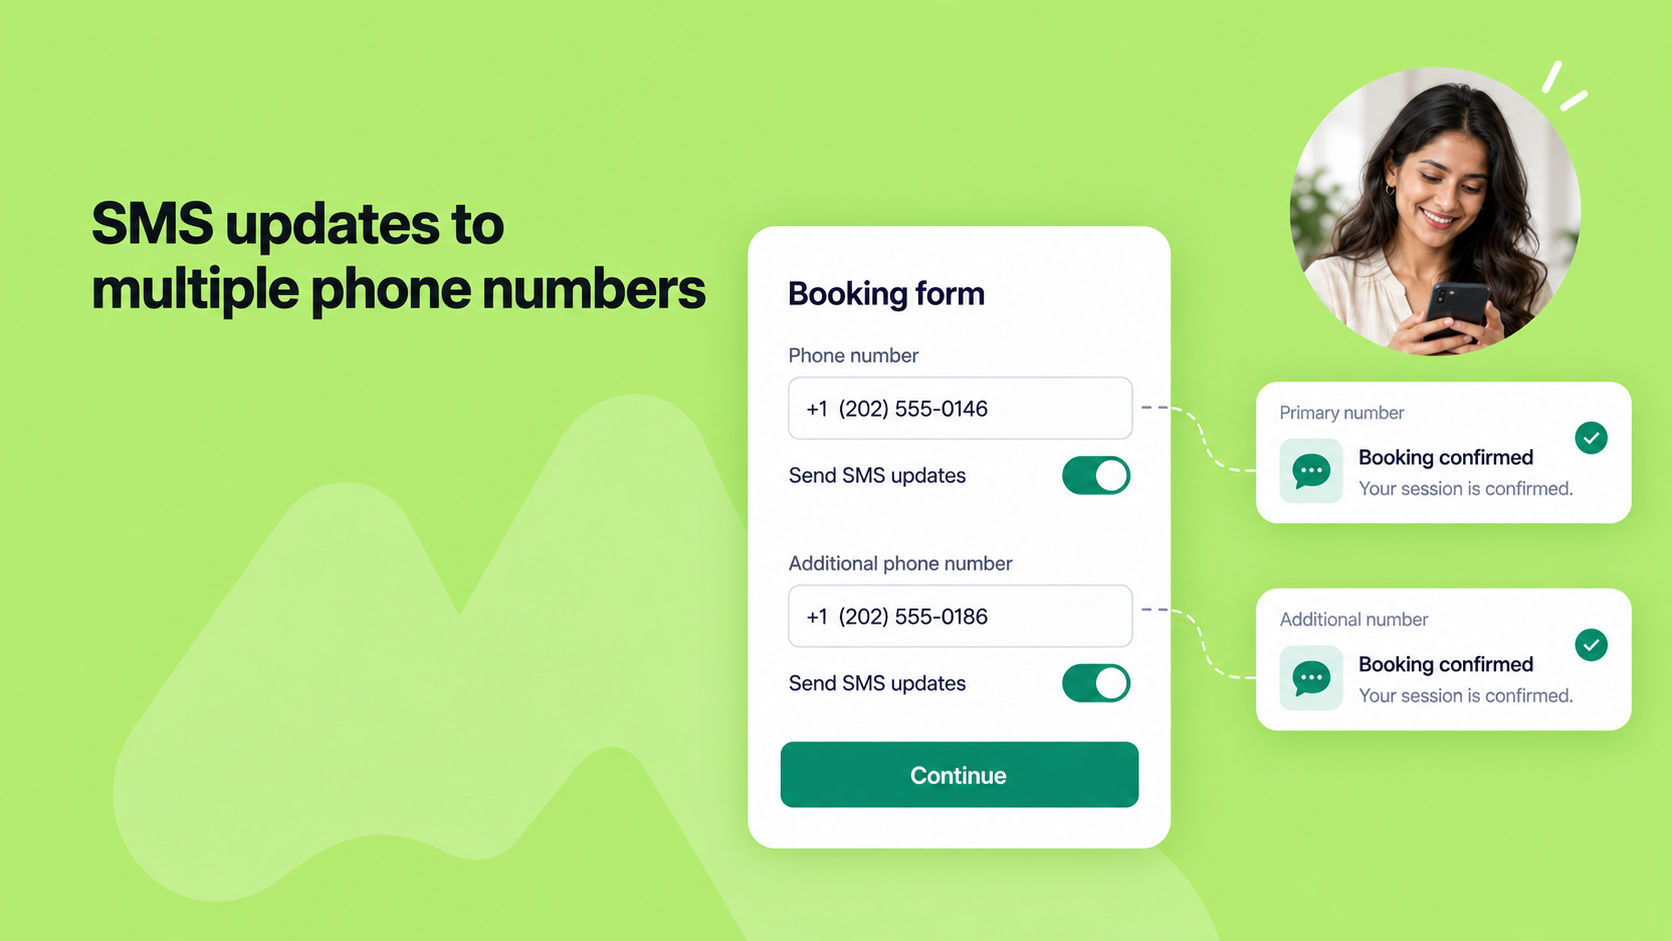
You can now send SMS updates to every phone number a customer enters while booking. Previously, SMS notifications could only be sent to a single phone number.

Each phone number question on the booking form has its own Send SMS updates setting, which is enabled by default. Any number entered into a question with this setting turned on will receive booking confirmations, reschedule and cancellation notifications, and meeting reminders. Turn it off for questions that collect numbers that shouldn't receive SMS updates, such as an office landline or an emergency contact.

To learn more, read our help article.


image_8XsOuPqtIZ.png

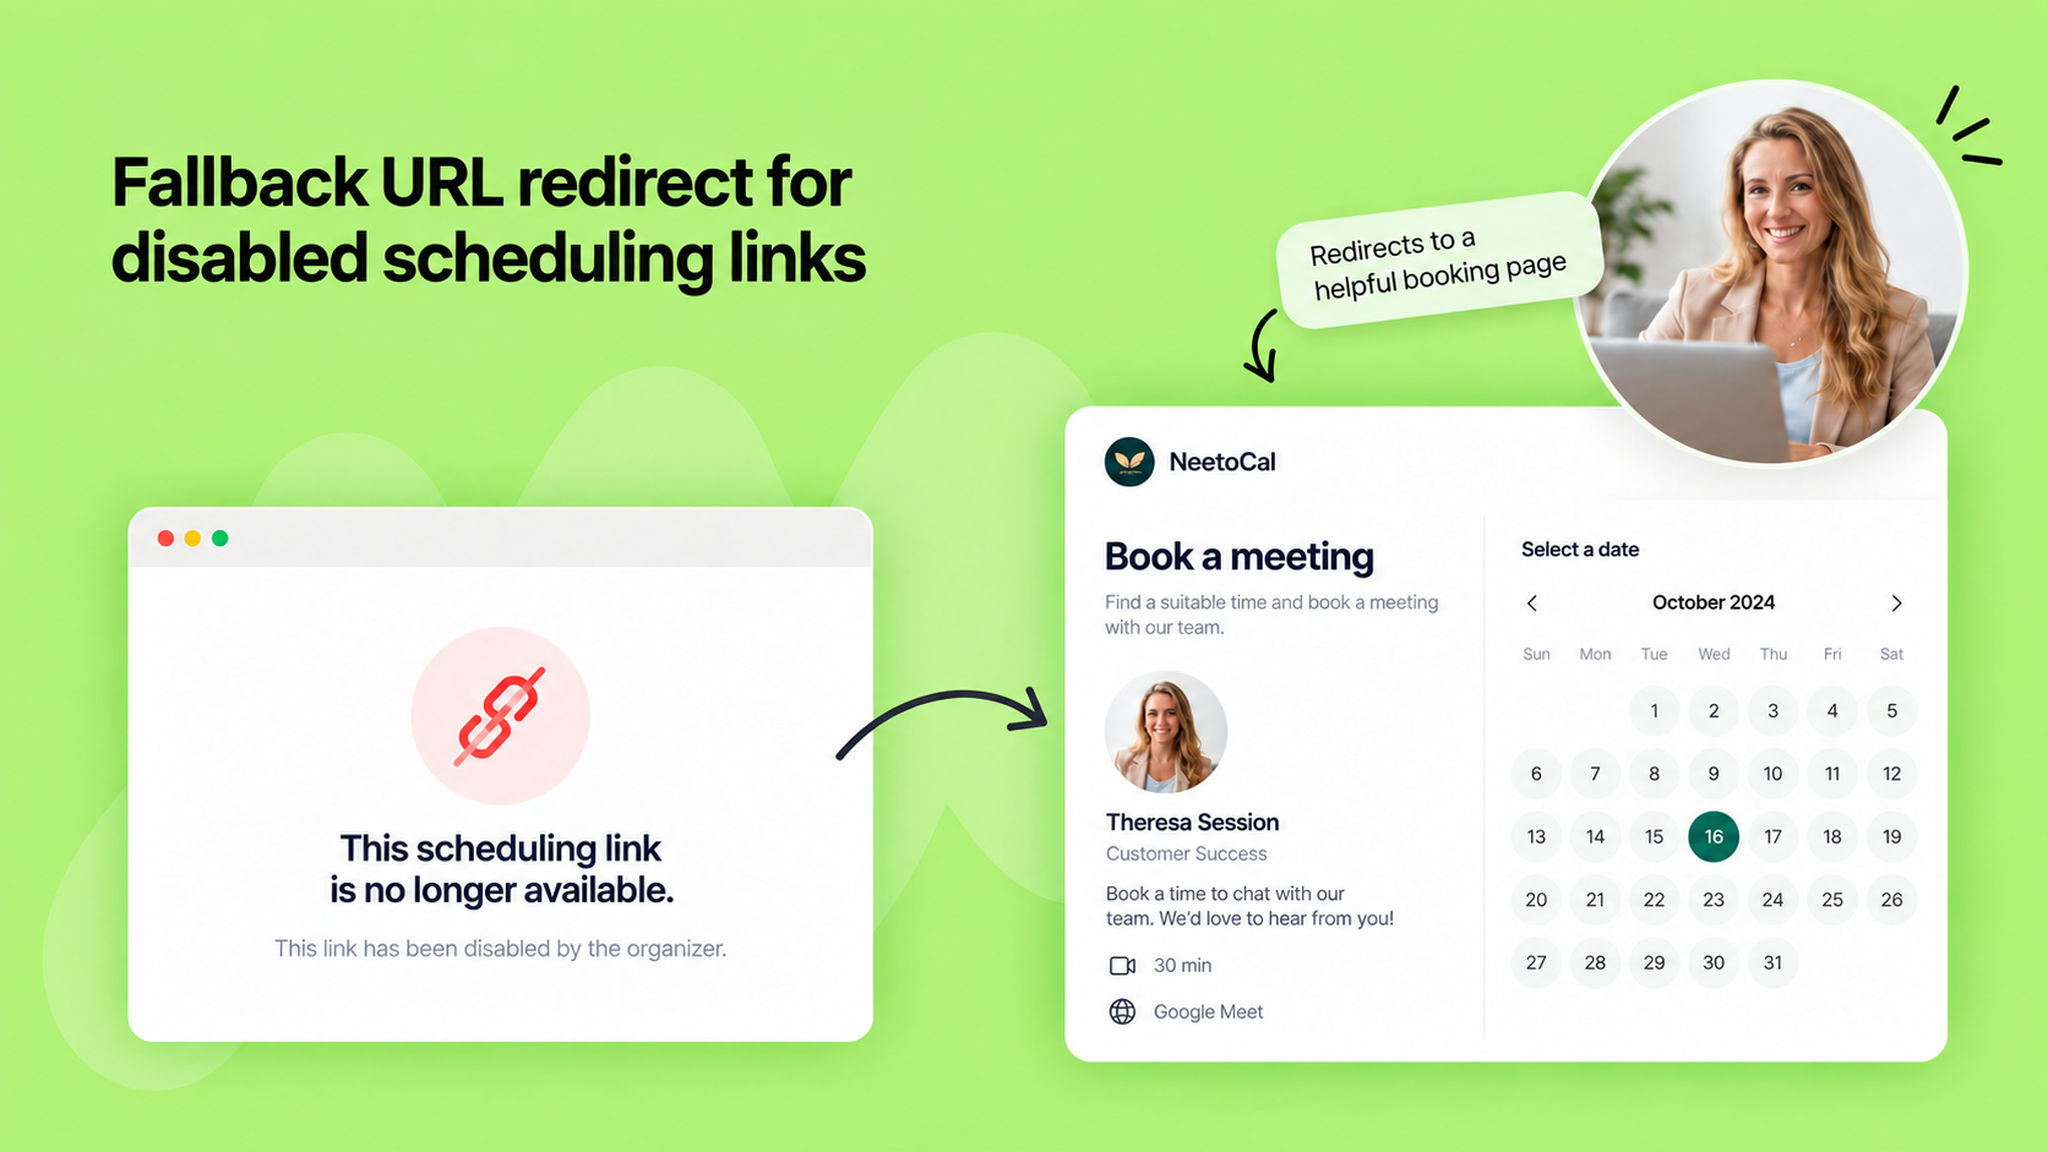
When a scheduling link is disabled, visitors used to land on a dead "inactive link" page, and that traffic was lost.

You can now set a workspace-level fallback URL that visitors are redirected to instead, so a disabled link keeps sending people somewhere useful, like a free consultation or contact page.

The redirect kicks in whenever a link is disabled, whether its host was removed from the workspace or an admin turned it off manually. If no fallback URL is set, visitors still see the standard inactive-link page as before.

To keep admins in the loop, the manual-disable confirmation and the remove-team-member modal now show where disabled links will redirect or nudge you to configure a fallback if you haven't yet.

The removal modal also lists exactly which scheduling links will stop working, grouped by whether the person is the only host or the main host of a multi-host link.

You can set this up under Settings → Scheduling Links → "Redirect disabled links." This setting is admin-only.

To learn more, read our help article.


image_WrAa0ern7.png

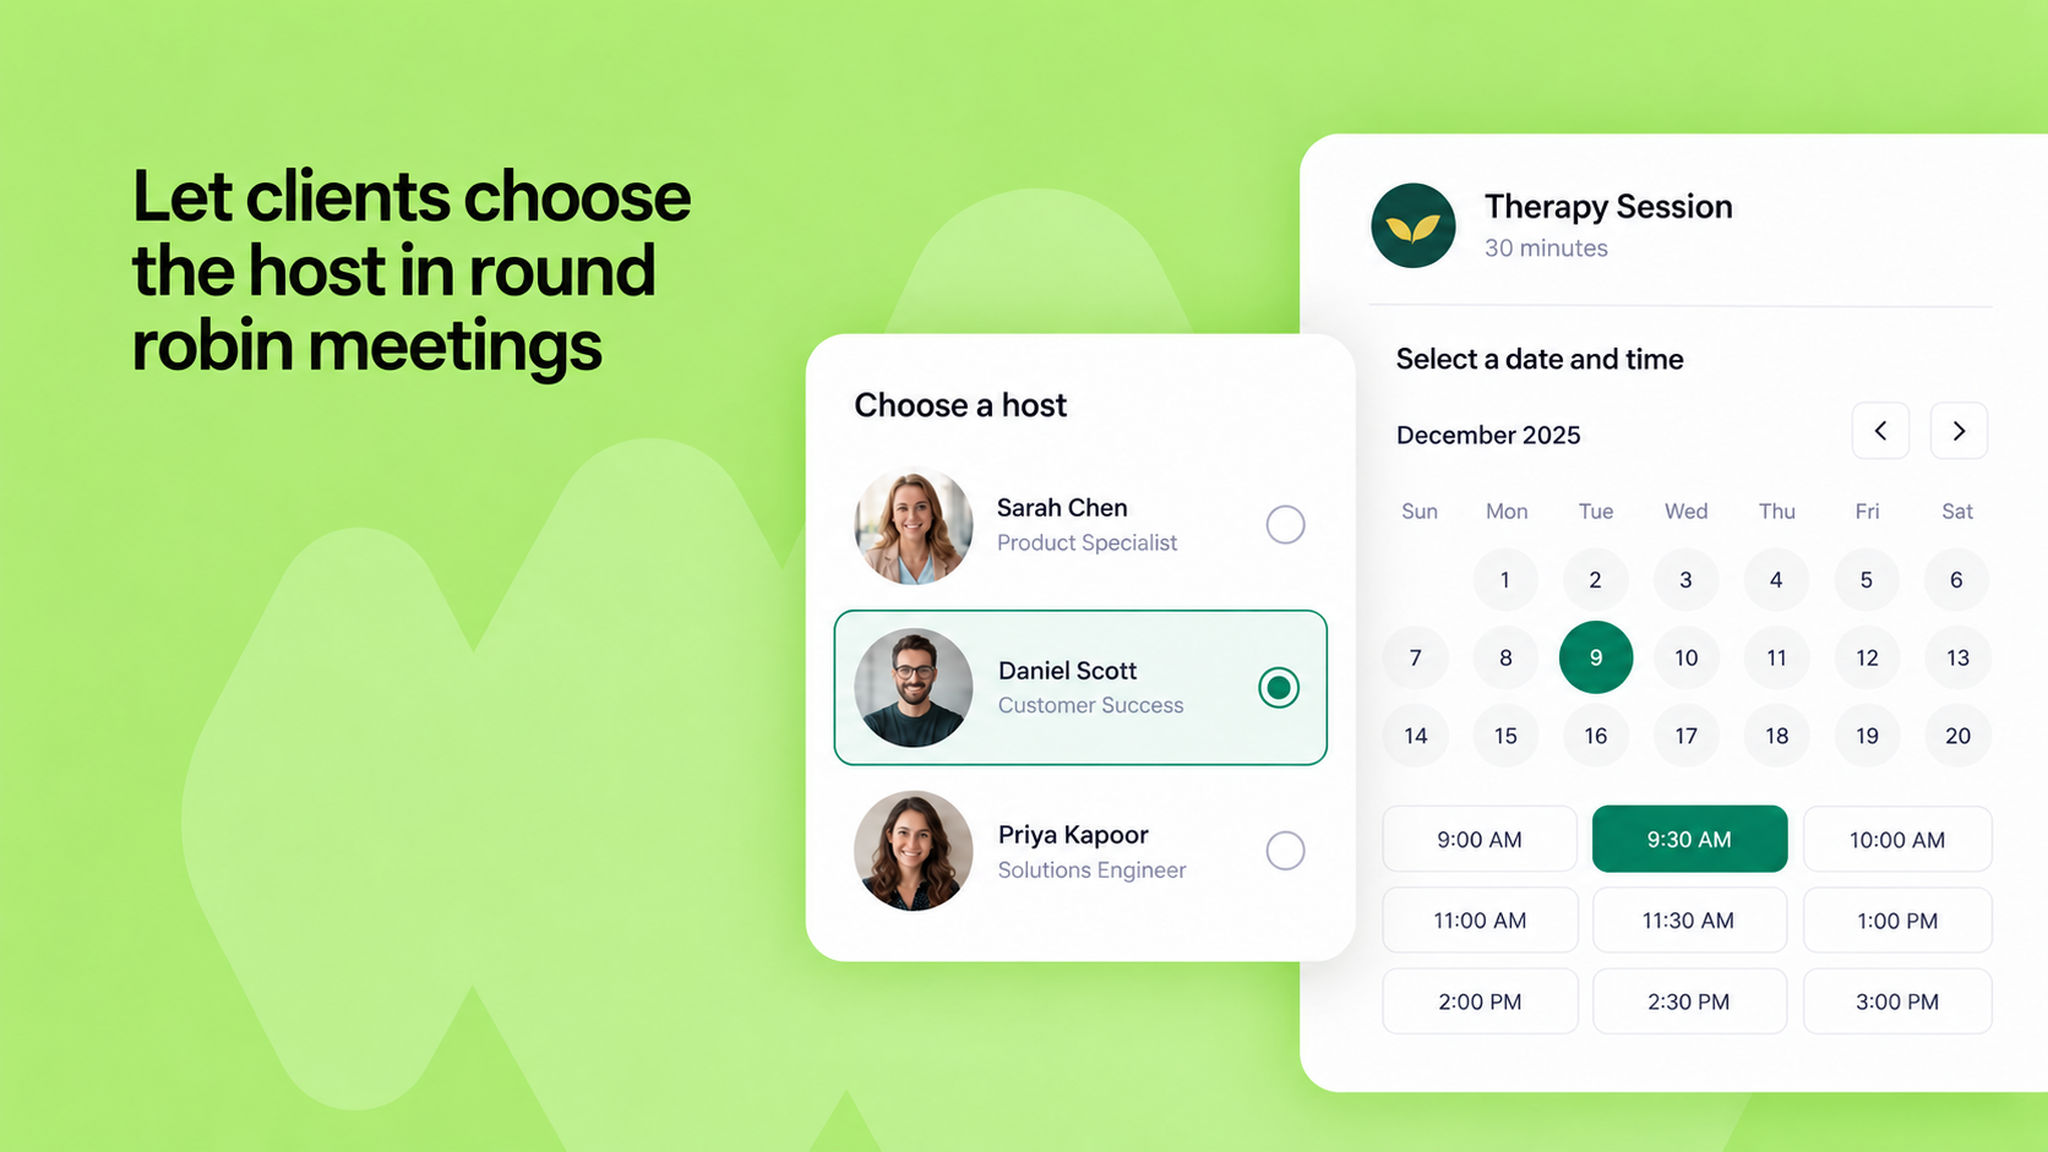
You can now let clients pick who they meet with when booking a round robin meeting. Turn on Allow clients to choose the host in the scheduling link's Host tab, and the booking page opens with a list of your hosts instead of going straight to the calendar.

To learn more, read our help article.


redirect-disabled-links_Tc3J_ivea.png

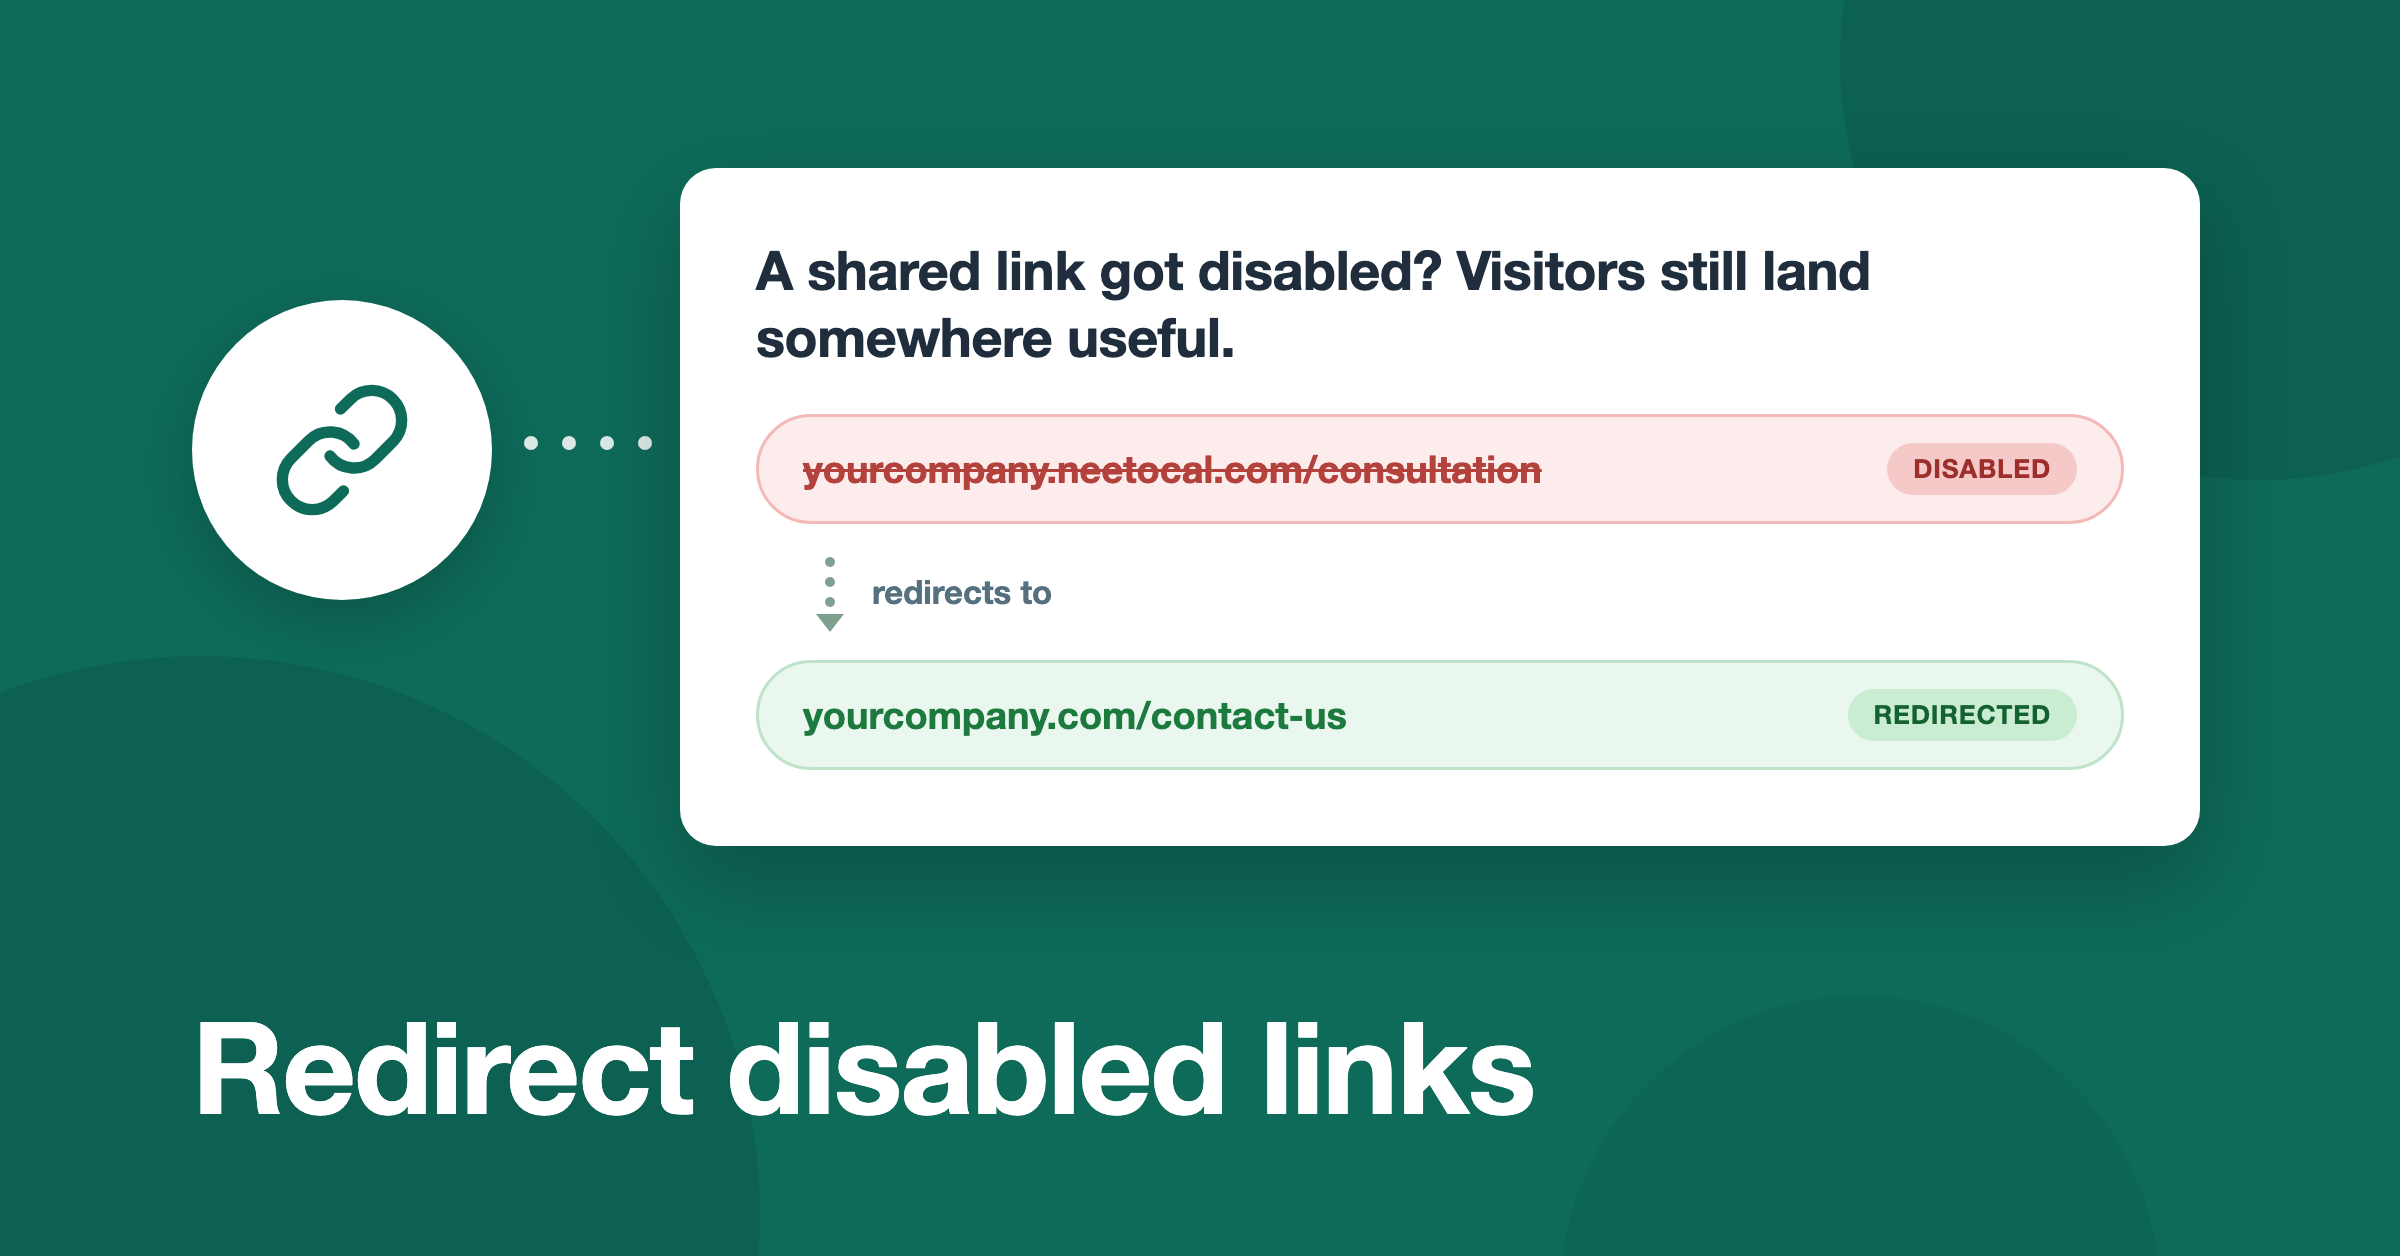
Earlier if a scheduling link you shared on social media or on your website, later becomes disabled, anyone who opens it lands on an inactive-link page, and that visit goes nowhere. You can now redirect these visitors to a URL of your choice instead, such as a contact page or a general booking page.

You will find the new setting under Admin panel → Scheduling links → Redirect disabled links. It is admin-only and applies to every disabled scheduling link in the workspace. Leave it blank, and visitors see the default inactive-link page as before.

To learn more, read our help article.


image_PM-4EY76f.png

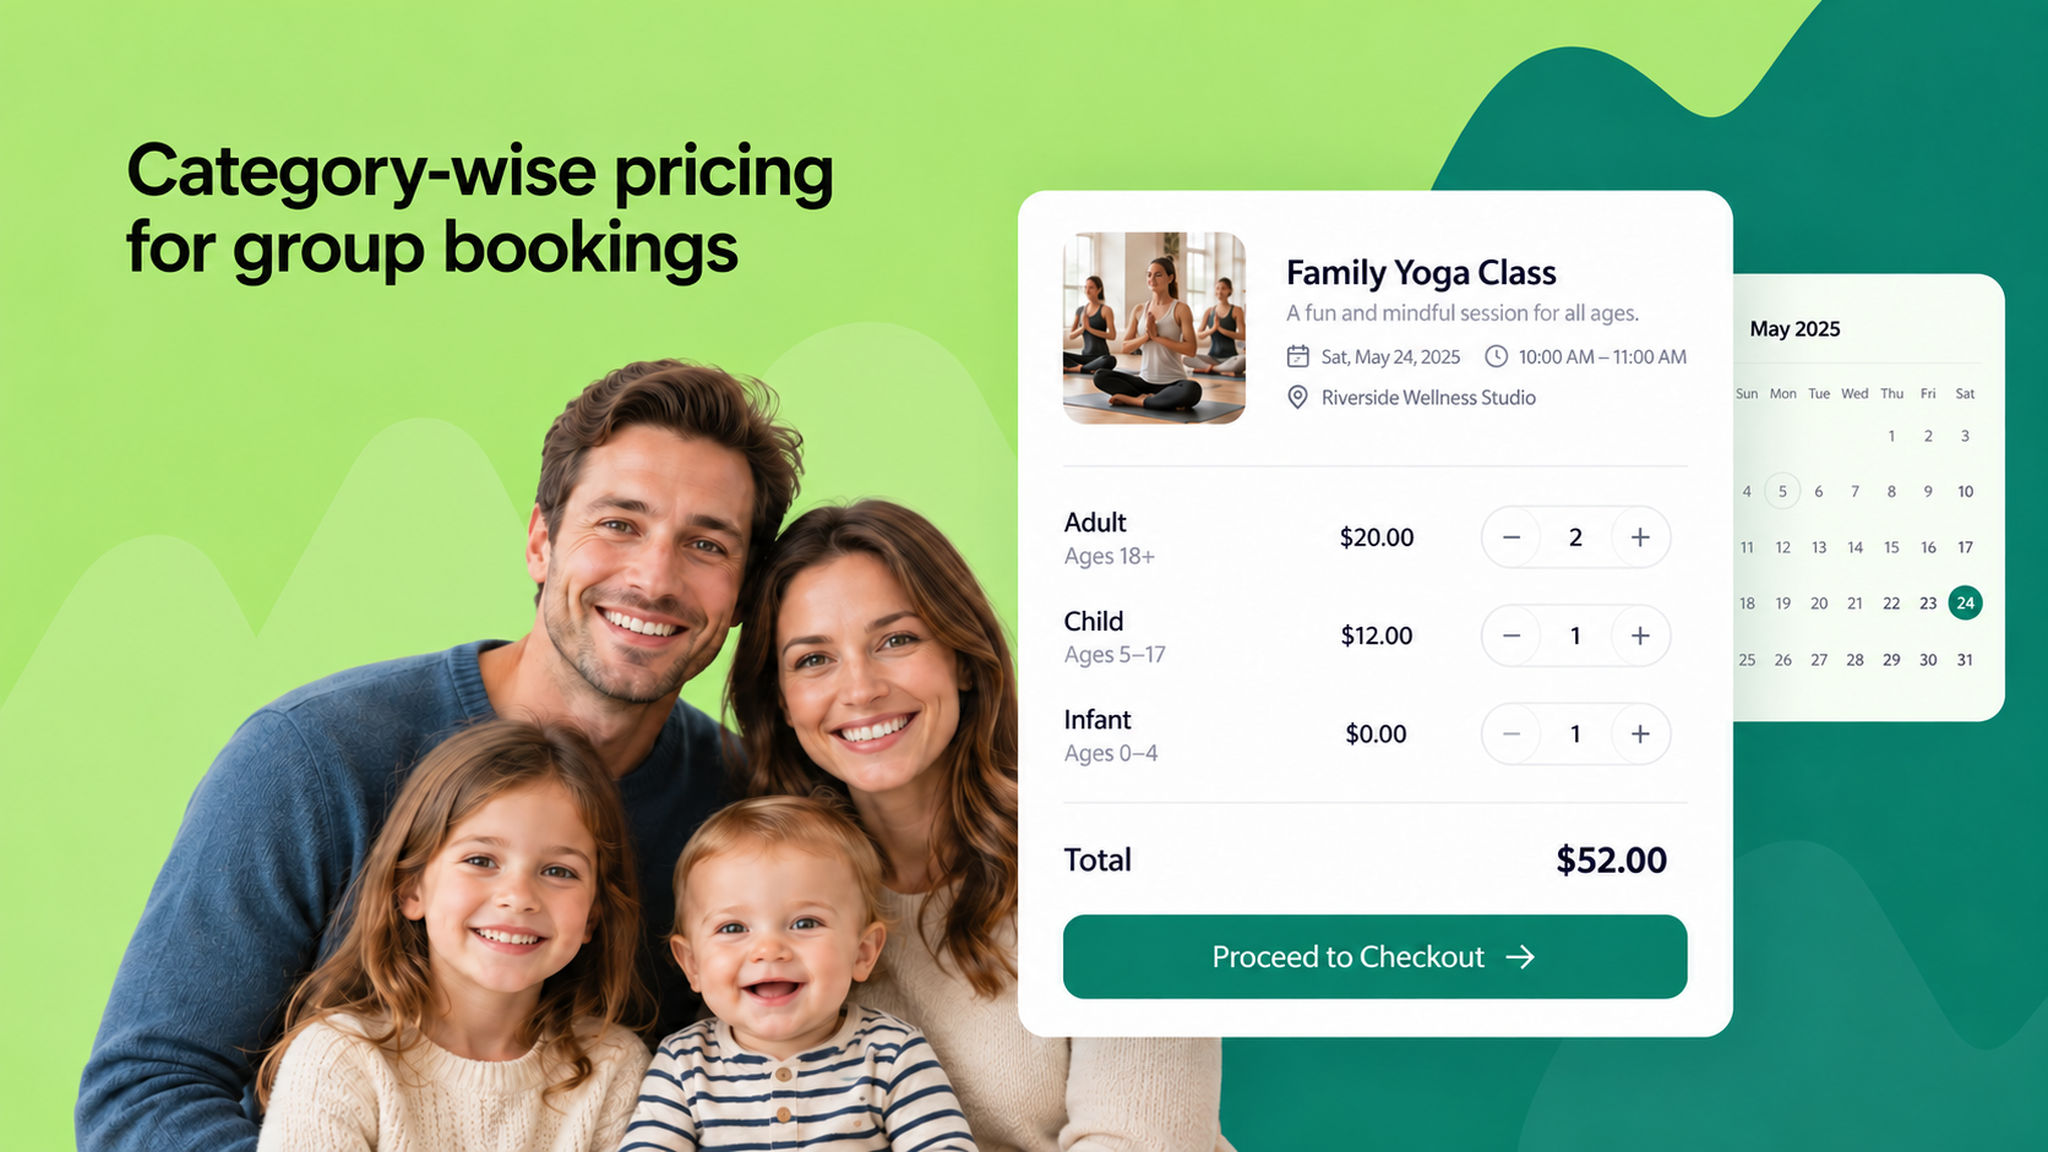
You can now charge different prices for different types of attendees in a single group booking. Set up categories like Adult, Child, and Infant, or any ticket types that fit your business, each with its own price.

This is perfect for events, classes, tours, and workshops where not everyone pays the same. Clients pick how many of each category they need, and the total is calculated for them in one smooth checkout.

You stay in full control. Set a price per category, and decide whether each one takes up a seat so an infant can join for free without counting toward your group's capacity.

The full breakdown is shown everywhere it matters, on the payment summary, the confirmation, the admin booking detail, and in calendar and email notifications. Discounts, taxes, and tips all apply on top of the category total, so the numbers always add up.

By letting you price the way you actually sell, this opens the door to more bookings and higher revenue from the same group event.

To learn more, read our help article.


2026-07-23-set-any-page-as-root-url_qPaoW29im3.png

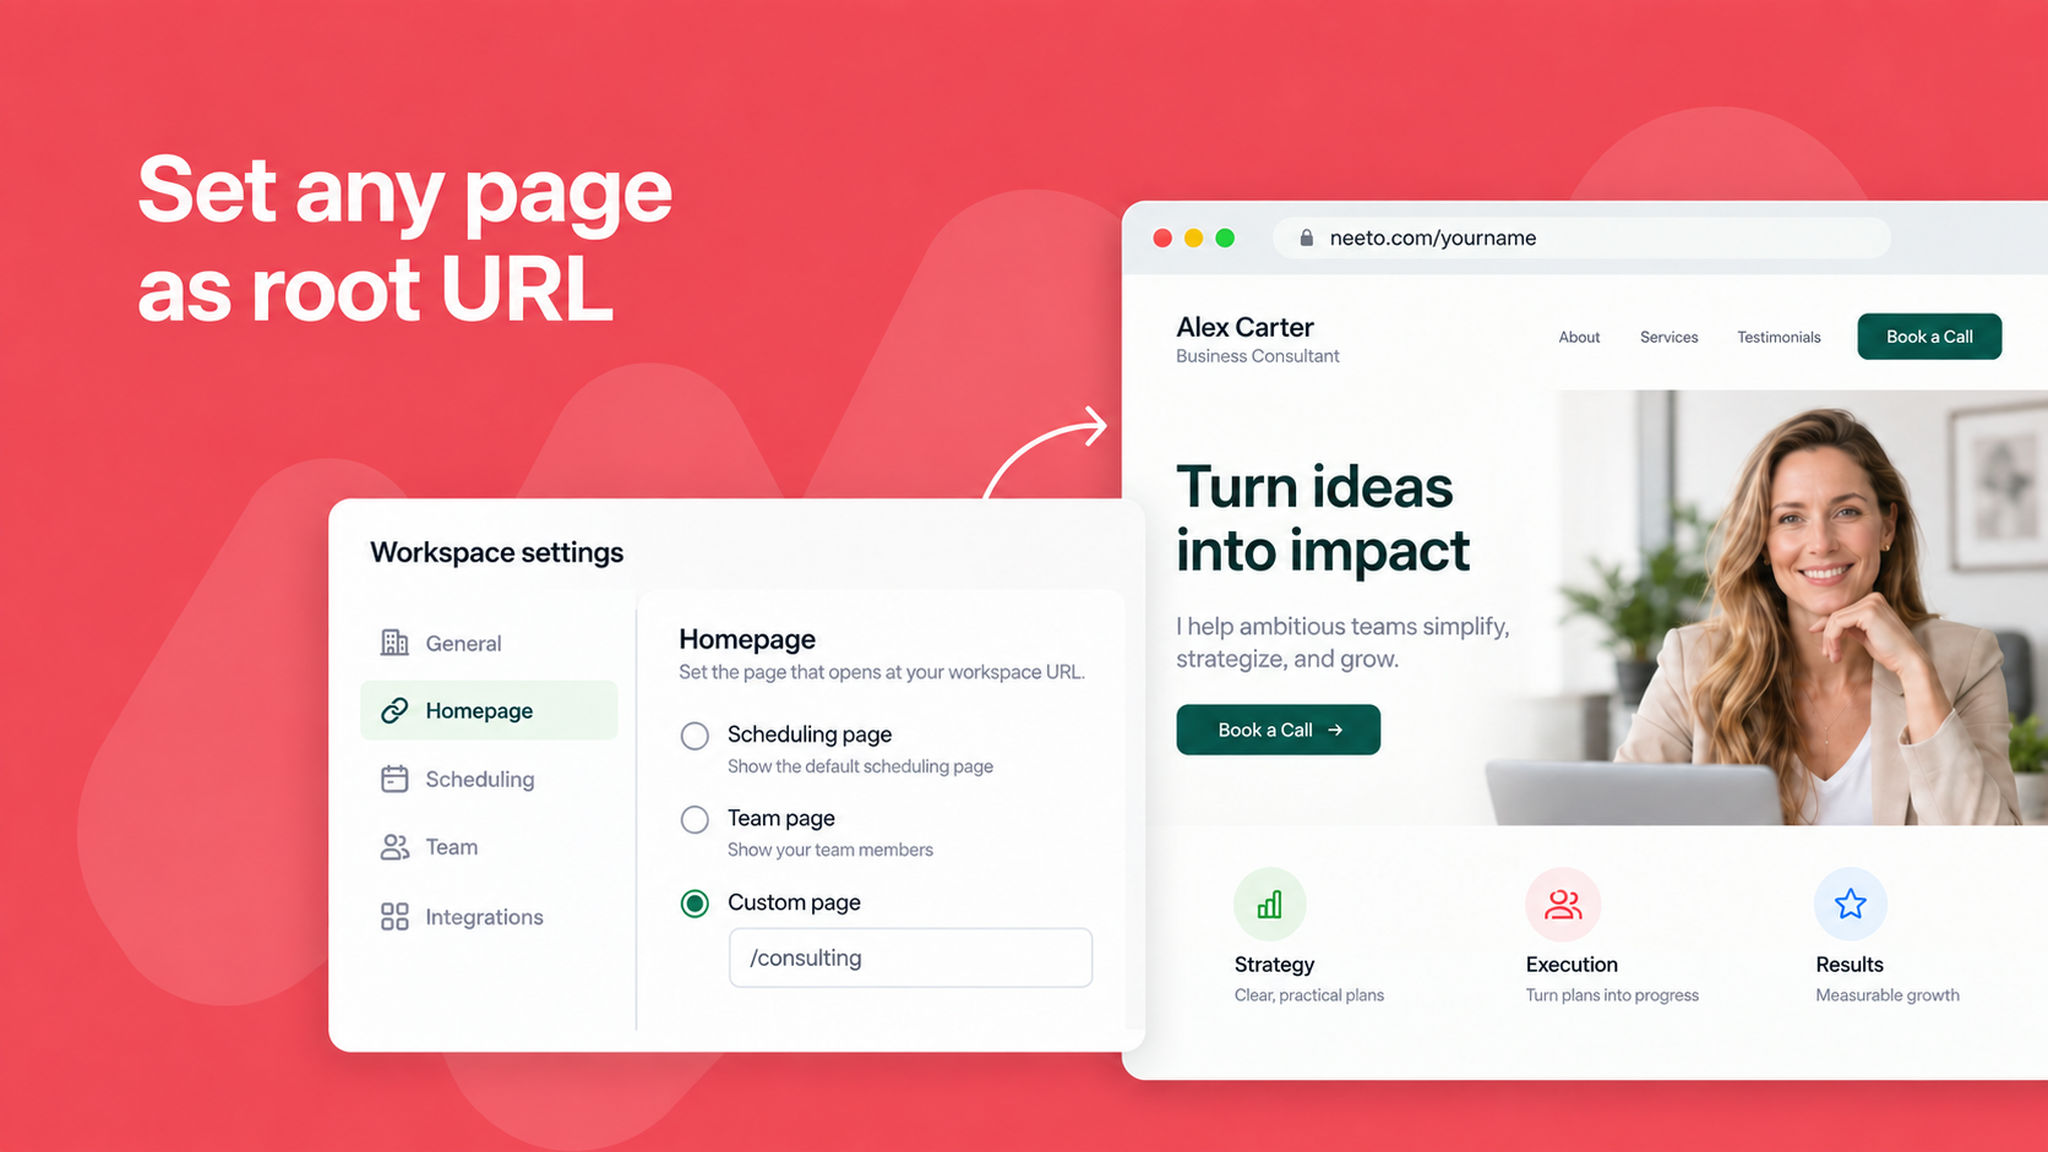
You can now set any page as your root URL, so it loads at your account's home address instead of the default homepage. This works for a scheduling link, an intro page, a package, or a routing form.

Earlier this was limited to a root intro page. Now you get to decide what visitors see first, whether that is a single meeting you want to promote, a package you are selling, or a routing form that sends people to the right place.

Setting it is the same for every page type. Open the page, and mark link as "Set as root URL", and save. Only one page can be the root URL at a time, so if one is already set, we show a warning before replacing it.

This gives you a cleaner, more intentional front door for your booking experience, which helps visitors take the action you care about most.

To learn more, read our help article.